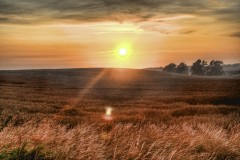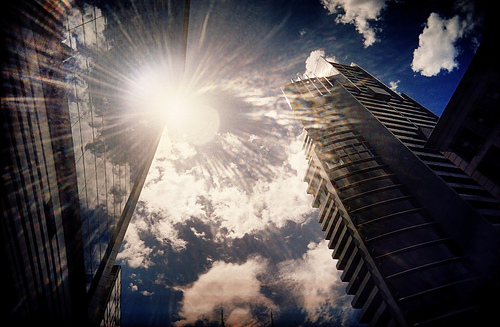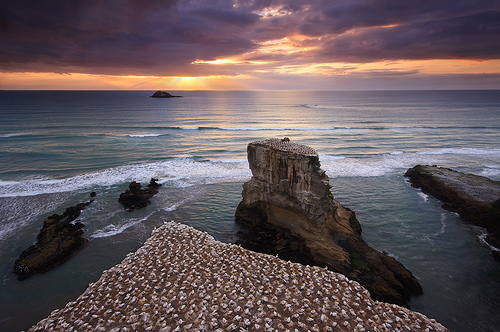
Shooting into the light has always been a challenging task. Whenever we capture any subject against the light, it shows up dark (high contrast) and when we shoot portraits, it gives the squint factor. Here are 10 tips to alleviate some of the issues while shooting into the light.
-
Safety Comes First
Practice caution when shooting into the sun since the sun can burn your camera sensor and/or cause eye-damage if allowed through the lens for long durations (more than a few seconds).
-
Use A Small Aperture
A small aperture reduces the size of light source and helps avoid blowing the highlights. Also, the small aperture gives you the starlight effect which shows up beautifully against the subject. This starlight effect compliments the scene superbly.
-
Use Sun Flares
While sun flares are avoided most of the times, creative use of sun flares can render a dreamy look to the entire scene especially the portraits. This technique is beautifully employed by many of the wedding photographers to add romanticism to the scene. The washed out hazy look and the complimentary circular discs gives you a creative edge in making the most of the natural source of light — the sun. Check out our article on lens flare for applying this technique.

-
Strong Artificial Light
A smaller aperture necessitates the use of extra lights. This helps compensate for the low light, to control the shadows and also to reduce the contrast in the entire scene. You can use your on-camera flash to fill the shadows. You can regulate the intensity of flash by using flash compensation settings, so as to ensure that flash light doesn’t ruin the image.
-
Shoot In The Magic Light
It is always recommended to shoot in the soft, angular light of the sunrise or sunset rather than the harsh, bright light of the afternoon sun. Also shooting during the main part of the day can pose limitations to the composition and perspective since the sun is high up in the sky. Magic light (when sunrise /sunset) is one of the best time to shoot against the sun.
-
Use GND Filter
Use a GND (Graduated Neutral Density) filter which allows you to tone down brighter areas of the composition and help balance the overall light in the scene. GND filters come in handy for controlling the dynamic range of the scene.

-
Use Light Meter
The old adage “prevention is better than cure” fits this scenario. You can’t compensate or correct bad light during post-processing. So measure and correct the light during the shoot by using external light meters.
-
Use Spot Metering
If you do not have a light meter, try spot metering. This metering mode allows the camera to expose for the subject and not the overall light in the scene. You can learn more about various metering modes here.
-
Use A Reflector
Use a reflector to avoid underexposing the main subject and reflect some light on the face of the subject to control the shadows. While the professional photographers use silver and golden reflectors for portrait shoots, using a simple acrylic sheet can also serve the purpose of a good reflector.
-
Post-processing
Last but not the least, feel free to toy around with the image during the post-production to fine-tune the desired effect. With the new image editors the possibilities are countless. If you are shooting RAW, you have a lot of scope to recover the “Dynamic Range” i.e. the shadows (and the highlights). RAW may allow you to recover a DR from -2 EV to +2EV from the exposure. You can easily turn this into an HDR. Or you can selectively recover the shadow details.
While shooting in the sun is not what most photographers love, it is always a good option to be versatile with various types of lighting. You can really get some creative lighting effects while shooting into the sun. Check them out here.


These are great tips! I use a small aperture and shooting in magic light most often. I have a GND and a couple of ND filters, which I typlically tend to use when there’s a lot more light in the sky. My favorite times are sunset, but I’ve just recently started playing around at sunrise too. Here’s an example from a recent sunrise shoot. http://jljfoto.zenfolio.com/img/s3/v25/p767835233-5.jpg As much as I enjoy the sunrises and sunsets though, I really enjoy the minutes just before sunrise and the minutes after sunset the best. That’s when the colors are the most interesting to me. Here’s an image I shot just after sunset at Joshua Tree National Park last month. http://jljfoto.zenfolio.com/img/s1/v22/p449055452-5.jpg
Great photos Jonathon, the drama of the second one actually.