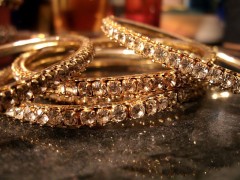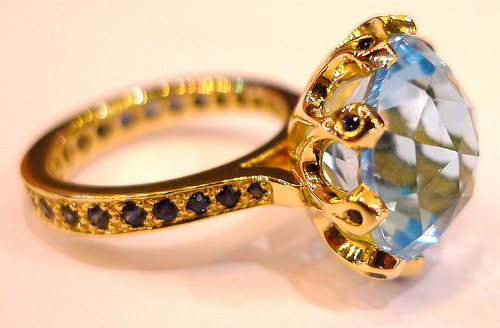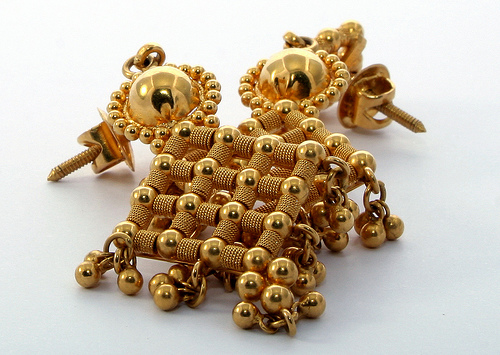
With numerous jewelery manufacturers, retailers and designers emerging daily, jewelery photographs have become an important medium to showcase their valued possessions to the customers. With this, the scopes of jewelery photography has increased immensely. But the small and reflective property of jewels make photographing them a sophisticated task. In addition, since jewelery is a luxury product, the photographs are used as a marketing tool. However, with proper technique and equipments, gorgeous and highly dramatic jewel photographs can be easily obtained. Here are 7 tips that will help you capture these glittering objects like a professional.
-
Proper Light Setting Is A Must
Like all photographic needs, light is the most important element for photographing jewels. To bring out the original color of gems like rubies and emeralds, shoot them in halogen light with the camera’s white balance adjusted. Depending on what you feature or aspect you want to highlight, you may want to change the angle, use a soft or hard light etc.
-
Use A LightBox
A lightbox (also referred to as a white box) is simply a cube that is build up of translucent white acrylic sheet. This cube acts as a reflective tent to bounce extra light on shadowed parts and also diffuse hard light to avoid harsh shadows. In addition, it acts as a clear, clutter free backdrop for the subject and does not let unwanted reflections of the photographer, table, photographic equipments etc. to fall on its polished surface. To shoot a faceted gem in a light box, place two light sources on two sides of the box (to illuminate the subject with diffused light) and one other direct light on the gem to provide a sparkling effect.

-
Decide The Correct Angle
To give an interesting perspective to the product and bring out the clarity of the edges, vary your angles and decide which will suit best for the product. Side-lighting is best for textured, moderately hard-light/spot-light is good for contrast.
-
Tweak Your Camera Settings
Use the macro mode of your camera to bring out the minute detailing of the product. Also, you can select the spot focus mode of the camera and keep the focus locked on these chosen points. A small aperture will give you a high depth of field and result in sharper images. Additionally, you can go for a macro lens for a crisper focus. For product photography, a tripod is a must. Sometimes a remote-trigger is used to avoid camera shake.
-
Select A Proper Background
The most common and effective background used in jewelery photography is a high gloss black or white acrylic platform. This neutrally colored platform helps to set the subject in absolute focus and also provides soft shadows for an elegant effect. However, you can always go for minutely cluttered backgrounds to add a unique mood and atmosphere to the photographs. A textured paper or fabric, vintage furniture, books and mirrors, a rose, sand and musical notes are some examples. If the background is of a dark color, use the exposure compensation button of the camera to adjust exposure and bring out the true details of the background.

-
Position The Jewels Creatively
Different kinds of jewels need different positioning & setup to bring out the best in them. For example, pendents look great when standing upright. To do so, stick them vertically on a drop of wax. Similarly, use a make-up brush to place a gold chain in a winding course around the pendent. Instead of placing the ear-rings side by side, overlap them or place them in a fashion that creates interest. To bring out the curves of pearls more prominently, place them on the ground with a single light source beaming from above.
-
Camera Angle
A detail that is often overlooked is the camera’s angle (as against the angle of light). Depending on which facet you want to portray or capture, you’ll have to position the camera to cover it. You may want to shoot from the side or from the top depending on your requirements. So in summary, the setup involves the angle of light, the positioning or orientation of the jewels and the camera’s angle itself.
-
Edit Your Images During Post Processing
In order to give a professional finish to your photographs, post process them in a professional image editor. Correct manufacturing defects, eliminate surface scratches and fibers if any, correct color casts, change the background or simply beautify the subject to accentuate its look. All product photographs used for commercial and marketing purposes go through post-processing.
In addition to the above tips, you should keep in mind that jeweleries vary in shape, size, color, metals used, the cut and opacity. Therefore, you cannot use a single light set up for photographing all kinds of jewels. Also, while showcasing a particular set of photographs, stick to a single background (you can switch between black and white backgrounds) to provide a sense of uniformity and professionalism. Also check out our sparkling collection of 15 Jewelry pictures.


Angle is king when it comes to jewelry. One thing you didn’t mention is depth of field. You always want to try and get the whole piece as sharp as possible. The best way is to use a strobe setup. So those “tents” aren’t going to work so well since most use hot lights.
@Dallas: Thanks for adding DOF to the list.