Portrait photography is perhaps the most common form of photography practiced. Portraits are about people and representing their personality in the photographs. Portraits form one of the most prominent subject in any field of arts; it serves the purpose of communicating cultures, traditions, events and celebrations. Learning to photograph people is a great experience. Getting started with friends & family can help you eventually turn into a great professional portrait photographer. Portrait photography is just about tapping into the opportunities, discovering and implementing the right techniques. Visualize the people around you through your camera lens and capture their personality and character onto the photographic frame.
-
Types of Portraits
Portrait photography is an agreement between the subject and the photographer; to portray the subject’s identity on the photographic plane (in a pre-decided manner). Portrait photography is the medium of portraying expressions, personality traits, culture, traditions, moods and character of individuals. Portrait photography can be classified under various categories depending on what is to be portrayed, conveyed and the personal expression and creativity of a photographer. Head-shots are perfect for capturing expressions and you can opt for head and shoulders shot when you want to portray the personality traits of people. Portrait photography is all about posing people to reflect their social status, authority, physical attractiveness or personality.
-
What To Shoot (When Shooting Portraits)
Portrait photography offers ample of opportunities and poses. You can opt for either directing the poses or going in for unposed and candid shots. The professional portrait photographers have to go by the words of their subject. They have to portray the subject as requested by the client; the opportunities in this case are very few. For a freelancer portrait photographer, imagination is the limit. Considering portraits as the subject, you can choose to portray the people in variety of poses, each conveying a distinct mood. Focus on the eyes to highlight the expressions, zoom-in and get close-ups to portray the physical attractiveness, go for unposed and candid shots for naturally aesthetic images, experiment with high shutter speed and capture the movement and activity of people around you or simply frame the contextual shots. Photographing people in the context of their environment, speaks about their personality more profoundly.
-
Establish Rapport With Your Subject
One of the most critical issue with portrait photography is to get hold of natural looking poses that represent what a person or subject is. The essence of great portraits lies in capturing shots which represent the individual character of the subject accurately yet creatively. As such there’s a lot of scope for the talent of the photographer to fill this gap. Portraits look great in natural and comfortable poses, but the human consciousness comes in the way of making great photographs. Just make your subject feel at ease with you and your instructions. Be friendly and informal with your subject and start the session with some practice shots. Some of the excellent portraits are captured with the person in context of his surroundings or workplace. These two attributes characterize the person by forming a part of their personality.
-
Lights — To Portray The Character Of Portrait
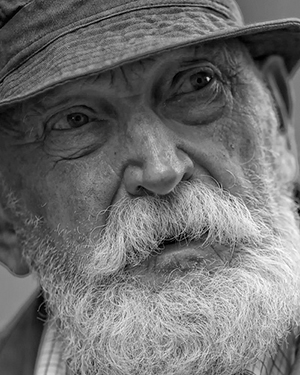
The lights play an important role in getting the right mood and setting up the tone of the shot (as in expression). Use soft and diffused light to get a … look. When portraying personality attributes hard light may be used creatively to highlight these characteristics. Light falling from a steep angle will tend to bring out the texture in the facial features like old-age wrinkles etc. While soft light tones down the facial details thereby presenting a more pleasing visual. Portrait photography shows up the best results with studio set-up of lights — studios allow you an excellent level of control over light and its characteristics. On the other hand consider shooting in shade when shooting outdoors.
-
Camera settings For Portrait Photography
The most important of all, its time to set your equipment to appropriate settings to get the optimum output. While putting your camera to auto-mode is a good start for beginners, consider tuning the camera settings for a better control over equipment to get much better result in the final shot.
- Camera Modes: The modern day DSLRs offer various modes; each best suited for a specific purpose. While shooting in auto mode is the perfect choice for beginners, you can always put your camera to manual mode and tune the camera to your preferences. Portrait photography is largely concerned with portraying soft and subtle effects, therefore you can consider the following modes to make a markwith portraits.
- Portrait Mode: Setting your camera to the portrait mode automatically sets the contrast curves to low contrast which are appropriate for portraits. In this mode the camera sets the other details like the saturation levels, sharpening etc. The portrait mode thus is pretty intelligent and reliable to begin with. The flash pops-out automatically and you are ready to pay attention to the composition.
- Aperture Priority: If you are looking to greater control and want to tune up for the finer nuances in the shot, you may want to use the aperture priority mode. This allows you to override the flash and flash settings and let’s you control the depth-of-field in the scene.
- Black And White Mode: Black and white can give you a classy timeless effect with portraits. However, with digital a lot of things have changed. Today the best black and white shots are converted from color during post-processing. This has a two-fold advantage: you get a color shot and a high flexibility to apply filters, channel mixing during black and white converting on post-processing. So, leave the black and white for later. Quick Tip: Shooting in RAW let’s you shoot in black and white but also allows you to change this to a color mode with the RAW converter.
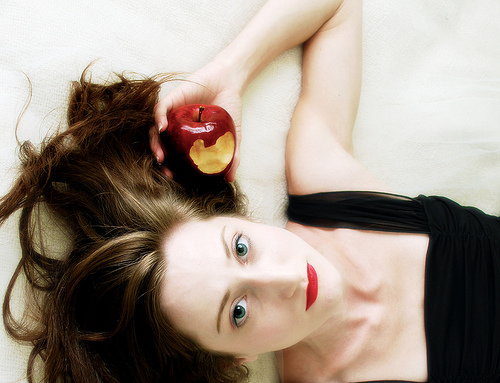
- Zoom-In: Portraits is all about capturing the expressions and the expressions are profound in close-up photographs. I prefer tight crops even at the cost of cropping out some part of the hair etc. This helps to portray the facial expression and features. However zooming out allows to include the dress and wearings which are a part of the subject’s personality. Zooming also allows you to recompose while being lazy to move back and forth to frame the subject. However zooming-out is not a substitute for being close to the subject. Being close to the subject will induce geometric distortions which are unflattering to the person’s physical features. That’s the reason portrait lenses start at a focal length of 50mm (bare-minimum) and above.
- Use Flash Effectively: Using flash with portraits is a critical issue, owing to the red-eye effect which results from using flash for portraits in low-ambient light. Avoid using direct flash; bounce the flash off the ceiling and walls. However flash isn’t a problem with studio light (strobe-lights). Additionally you will want to use a hand-held meter for light metering. This will help you keep the contrast and dynamic range of light in control.
- Camera Modes: The modern day DSLRs offer various modes; each best suited for a specific purpose. While shooting in auto mode is the perfect choice for beginners, you can always put your camera to manual mode and tune the camera to your preferences. Portrait photography is largely concerned with portraying soft and subtle effects, therefore you can consider the following modes to make a markwith portraits.
-
Portrait Lens
Portrait lens is a prime lens (fixed focus-length lens), which trades off between the geometrical distortions caused by wide angle and vignetting effect of telephoto lenses. Portrait lenses are normal lenses having a focal-length between 85mm to 105mm, appropriate for portraits. Most often a zoom lens in this focal-length range can be used as portrait lenses. This focal-length allows the flexibility of maintaining distance from the subject and while keeping the geometrical errors out of the scene when zooming. Portrait lenses generally have a wide aperture which helps in blurring the background and creating the bokeh effect to the advantage of portraits. Along with the portrait lens you must also consider investing in soft focus filters. It is a special kind of filter which reduces and softens the facial details like the unflattering textures and blemishes etc. to soften the overall photograph.
-
Composition — Framing Portraits Appropriately
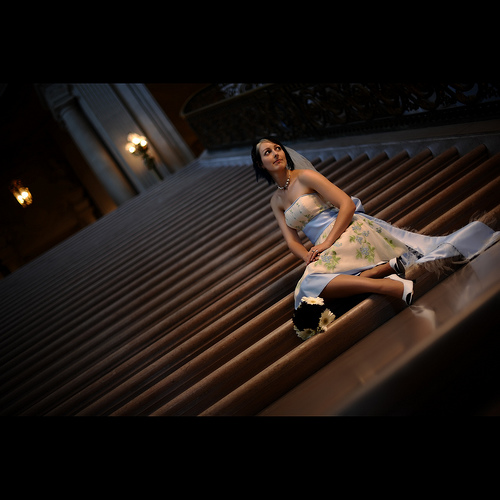
Composition is the key to interesting and unique photographs. Framing the portrait right in the center of the photograph often makes the image dull and flat. Placing the subject in golden ratio or according to the rule of thirds compliments the frame aesthetically. It naturally draws the human eye to the subject. When shooting portraits filling the frame with facial expressions. Experiment with close-ups too. Apart from this the backgrounds and surroundings also play an important role in aesthetically complimenting the frames. They add a context to the visual story of the character. While clear and focused backgrounds on one hand add a context to the portrait (and at times compliment the personality), the blurred background induces the dreamy bokeh effect. Photography is a lot about experimenting with unusual and creative compositions. Framing the same concept by varying the angle of shooting helps in portraying third dimension onto the photographic plane.
-
An Element Of Interest Makes Portraits Visually Appealing
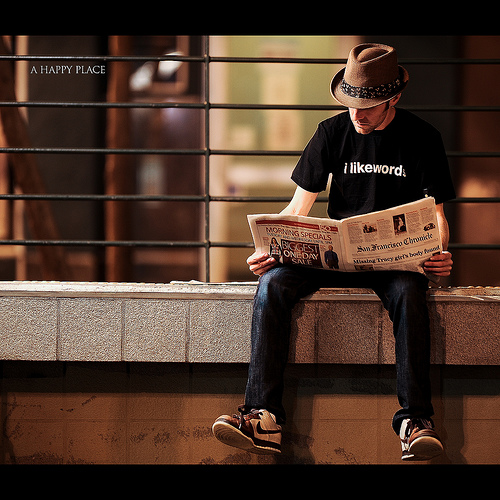
Portraits can effectively benefit from interesting elements like some action, movement or interesting formation. The smoke out of a cigarette held by the subject, or the movement of the hand or perhaps the subject captured amid a phone conversation not only affect and create a mood, they also add a dynamic element of activity and interest. This is the edge some portraits have which makes them professional and outstanding.
-
Create A Mood In Portraits
The context and the surroundings help set a mood of the photograph. For example, including dark backgrounds in context of a portrait heightens the seriousness of character in the composition and highlighting the eyes can heighten the emotion. Creating moods in the photograph depends on the overall lighting and the ambiance of the scene. The inclusion of elements like fog, snow, clouds, fire, etc also help in creating mood which goes a long way in making the photograph interesting and draws the viewers attention.
-
Digital Re-touching — The Final Step In Portrait Photography
To add the final professional touches to the work some amount of post-processing is required. Make subtle changes, like enhancing the complexion, eliminating dark circles or blemishes, correcting the red-eye and so on. Try to avoid manipulating the image and making too many changes. Work on giving it a professional finish.
Remember, portraits portray a person, their personality, character, style, surrounding, culture, mood and tradition. Some of the best portraits are shot with the subjects in the context of their natural surroundings. A good portrait does not only reflect and represent the actual person but also portrays your art and creativity as a photographer.


With regards to lenses, all lenses can be considered for use for a portrait, though some less flattering than others but each with their unique effect, it is worth while to experiment. Also take a look at the 135mm prime, this is also considered a standard portrait lens that flattens the features and can be very complimentary (35mm format or FX Digital). A 120mm or 150mm with No. 8 or 10 extension tube works well on medium format or 39MP Back and allows for a closer crop. Personally I would prefer the sitter to look into the lens, the windows to the soul and all that.
Take a look at some of the examples on these pages and then imagine the sitter looking directly at you, what effect does this have? To soften the image a black “Pretty Polly”, stocking can be stretch and stapled / taped over a card frame, this really works well, experiment with various Denier to find the effect required. There is not a must to purchase a soft focus lens, it can be argued that some of the most interesting portraiture are the ones that capture the lines in the face and reflect the character of the sitter. Always focus on the eyes, make sure that these are pin sharp, it is the first thing that the viewer will look at and try and make a connection.
If the shoot is outside, a slight fill in flash may be useful on a sunny day, softened with a tissue in front of it, though try and shoot when the light is bright but the sky overcast. Alternatively a reflector can be used, a plain white one which reflects a softer light rather than the silver or gold ones sold commercially. The silver or gold reflectors can be too bright and effect the sitters eyes, the gold effecting clean skin tone.
Post process, there are some excellent software available specifically for portrait photographs where skin blemishes can be rectified along with any skin anomalies.