Author’s Intro: This is a guest post by Mila Johnson. Mila is an outdoor enthusiast who enjoys taking pictures of nature through multiple camera lenses. She is continually learning about photography and is excited to share what she’s already learned with photography enthusiasts and hobbyists.
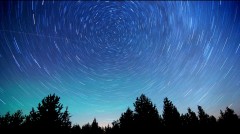
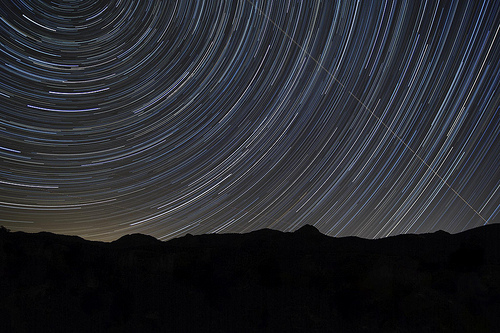
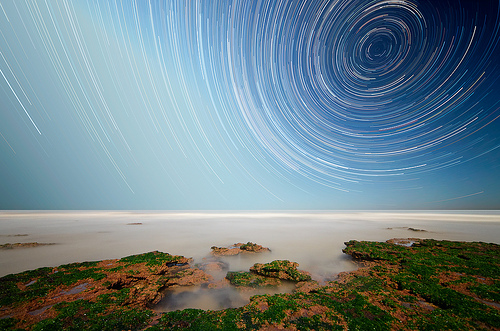
Capturing star trails can be a challenging experience for even the most advanced photographer, but by utilizing a few simple techniques the process can yield excellent results. For those who are unfamiliar with the term, star trail photography, sometimes referred to under the broader heading of astrophotography, is a method of photography that allows the photographer to capture the movement of stars throughout the night sky.
The first thing you need to know is that most DSLR cameras are capable of capturing star trails; some, such as Canon’s Rebel series, are thought to be too ineffective for astrophotography, but with the proper setup you will be able to render nice photographs even with lower level DSLRs. Therefore, if you’re interested in exploring astrophotography it is not necessary to scour the Internet and your local stores for camera deals on higher end equipment, although such equipment will make the process easier for you.
There are two different ways for photographers to capture star trails; you can either utilize a long exposure in one single photograph, which is a method that works better with an SLR camera, or you can stack multiple photographs on top of each other via Photoshop or Image Stacker.
Step-by-Step Guide For Capturing Star Trails
-
Equipment
A DSLR or an SLR, a wide angle lens, a tripod and a shutter release cable.
-
Setup For Shooting Amazing Star Trails
In order for astrophotography to work you must shoot on a clear and dry night, and you must also avoid capturing light interference. The moon will cause just as many issues as a light pole or even an airport, so be sure to compose your image in such a way as to avoid the path of the moon.
-
Aperture and ISO
In order to avoid over exposing the image, you must select a low f-stop; anything higher than an f5.6 will not provide the desired results. Your ISO should be set at either 100 or 200 to minimize noise, and if your camera has built-in noise reduction for long exposures you’ll want to turn it on.
-
Focus Smartly
Focus on one star in the sky, press your shutter half way down to lock on it, and then turn off the auto focus feature on your camera.
-
Use The Bulb Mode
Cameras with a Bulb setting allow photographers to keep the shutter open, with the usage of a cable release, for an extended period of time. The difficult part is that leaving the shutter open for a long period of time will produce issues with DSLRs due to overheating. If you’re using an SLR you can leave the shutter open for hours and capture a single image. If you’re using a DSLR you’ll need to cheat a bit to capture star trails that last more than a few moments.
-
The DSLR Workaround
Using your shutter release, set your DSLR to keep the shutter open for 30 – 60 seconds at a time. Next, set the camera to fire off multiple images. You may wish to capture as many as 200 or 300 images over the course of a couple of hours. Take these images and blend them all together into one layer. This is easily achieved with several different programs, but we’ll use Image Stacker as an example. Using Image Stacker, load all of the images that you captured, set the image blend option to brighten and then press create. Once the process is done you’ll have a single combined photograph which, if all went well, will have resulted in beautiful star trails.
Have you tried out astrophotography yet? Leave a comment about your experience.
About the author: This is a guest post by Mila Johnson. Mila is an outdoor enthusiast who enjoys taking pictures of nature through multiple camera lenses. She is continually learning about photography and is excited to share what she’s already learned with photography enthusiasts and hobbyists.


I’ve been trying this for some time now, although it’s pretty tough to not have a lot of noise and cheating the shot, considering I live in Los Angeles.