Natural landscapes are a great subject to shoot; especially when you are traveling to exotic locations with a wide array of running hills and mountains. As exciting and adventurous it is to climb the mountains, more rewarding it is to take the photographs of these terrains. Setting sun kissing the mountains, mist, fog & snow covering the mountain peaks and the alpenglow; all inspire you to just click at them.
And while capturing such scenes sometimes some of us tend to point the camera up and try to shoot the heights (or vice-versa). This results in heights appearing flat and plain. Some simple photographing techniques can be of great help; like including people climbing the mountains or a car driving uphill. Here are some tips.
-
Straight Horizon Line
The first thing while shooting high peaks or mountainous terrain is to make sure that the horizon line in your photographs is straight. Slightly crooked or slanting horizons can be corrected in the image editor but at the expense of cropping some part of the image. Thereby using a tripod or perhaps if your camera offers the feature like Nikon’s Virtual Horizon you can greatly help you in achieving straight horizons.

-
Include Verticals
This is quite a handy tip which I learned from one of the photography forums. The vertical elements act a the point of reference. Including such surrounding elements like electricity poles, trees or even people greatly help in exaggerating the slants, tilts and the rugged terrains.
-
Shoot From A Vantage Point
Among the range of peaks, photograph one of the hills or mountains or perhaps an architectural monument from a vantage point (a place higher than the one you are photographing). This will present a contrasting picture whilst giving the sense of scale and enormity of the huge structure photographed. The same holds true for valleys and canyons.
-
Include Elements In Foreground
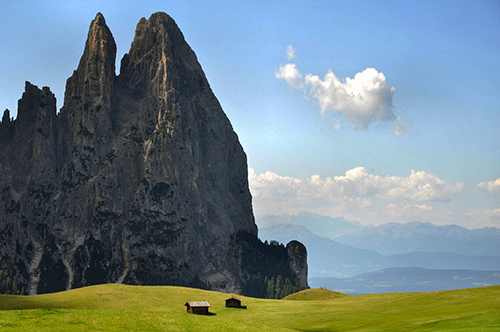
Using the foreground elements help in presenting a comparative view of the various elements in the photograph, thus giving your shot the sense of scale. The miniature size of the foreground elements perfectly help in emphasizing the enormity of gigantically heighted peaks in the backdrop.

-
Photograph From Distance
You don’t need to shoot too close or photograph the tight crops of huge structures. It will not make much sense. Instead photograph the mountains, hills from a far off distance. And consider including the lines to lead the viewers eye to the center of attraction or simply a wide angle lens for shooting the entire range of mountains running over a vast field of view.
-
Capture The Reflections
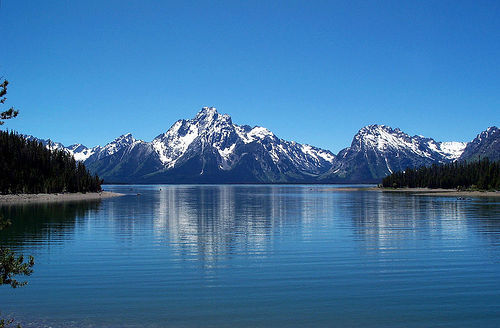
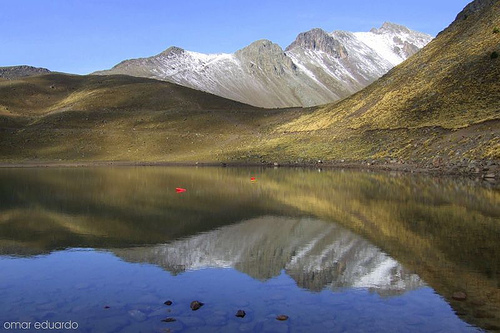
This one is not specifically for heights and depths, but pays well when you are out shooting the mountains. Along with the sense of symmetry and mirror imagery, the mountains reflected in the water look unusually interesting. And closely watch out the photograph. It also heightens the sense of scale as in the image below. (Also check out some beautifully captured reflection photographs here.)

How do you photograph the heights and depths?

