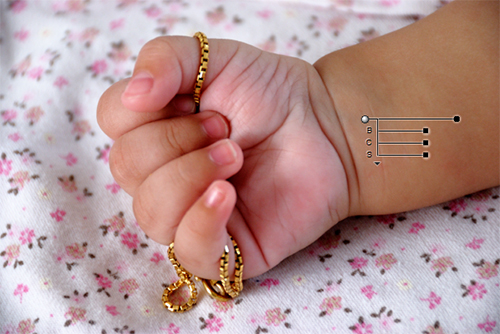
Getting accurate and flattering skin tones is a challenge that every photographer faces; especially wedding & fashion photographers. It is quite tricky to control these subtle details while taking the shot, thus these finer details are better controlled during post-processing. Little bit of overexposure, blown out highlights and soft skin tones are some of the things you can do to create impressive portraits. You can try these neat tricks in Photoshop, Lightroom, Capture NX or any other image editor. Here I would like to share a quick and easy way to get the beautiful yet realistic skin tones in Capture NX 2.
- Open the image in Capture NX 2. Capture NX 2 is an excellent tool for Nikon NEFs, i.e., Nikon’s proprietary RAW format. But you can process JPEGs & TIFFs as well.

- Grab the Color Control Point from the toolbar palette. The color control point allows you to adjust brightness, contrast and saturation.

- Position the color control point to the area you want to retouch. Drag the top slider to select the range of image that needs retouching.

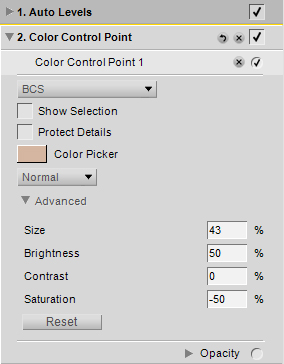
- The trick to get soft skin tones is to increase the brightness and reduce the saturation. Drag the Brightness slider to a positive value and set the Saturation slider equally but to a negative value. As a rule of thumb, reduce the saturation by same amount with which you increase the brightness. But again you can set the values as per your likings.
Quick Tip: You can use Advanced panel under Color Control Point to enter brightness and saturation values manually.

- Optionally change the Blending Mode to Screen. This brightens the effect just a little touch.
- Next, you can play around with the opacity. I have reduced the opacity to 50% so that the image does not look washed out. You can set it according to your preference. Here is how the final image looks:

There are many advanced and complex ways to enhance skin tones. However, this just does the trick most of the times. How do you get beautiful skin tones?

