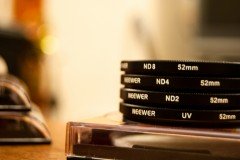
Filters are the photographer’s friend. Sometimes they act as lens protectors (a simple UV filter) and at other times they help you in intensifying some colors (intesifier filters for instance) or allow some specific wavelengths while blocking the others as is the case with infrared filters. Likewise, neutral density filters find a special mention among the photographers to normalize the brightness levels for extremely bright scenes.
What is a neutral density filter?
Neutral density filter is a semi-transparent piece of glass that fits over the front-end of the lens. Neutral density filter is generally colorless or grey colored piece of glass that blocks substantial amount of light from reaching the camera’s sensor. The neutral density filter reduces or modifies the intensity of all wavelengths or colors of light equally, with no changes in hue of color rendition. This is how ND filter gets its name — neutral density filter.
Neutral Density filters find application in extremely bright lit scenes. Neutral density filter efficiently obstructs a fraction of incoming light. This characteristic of ND filter results in balanced exposure and helps you in capturing saturated colors which are otherwise washed away by the overexposure spill; especially when shooting during the day-time. ND filters darken the entire scene to the normal brightness levels so that the camera can capture it. If you like to shoot into the sun or reflections etc, you need a ND filter. The purpose of neutral density filters is to allow the photographer greater flexibility to change the aperture, exposure time or motion blur of subject in different situations and atmospheric conditions. This is where neutral density filters come in handy — to create a deliberate motion blur effect, for reducing depth of field in very bright light or to photograph subjects such as snow, sand or other bright scenes which normally cause over-exposure.
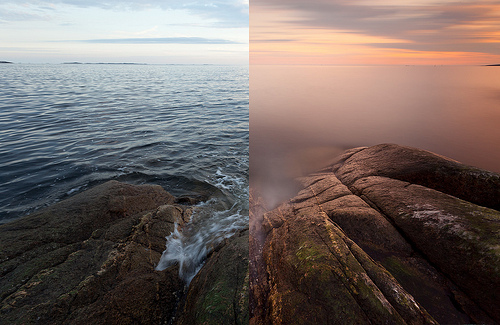
Here’s the example of using ND filter with before and after ND version of the photograph, placed side by side. Check out what the photographer [Ram Yoga] has to say about this image:
To illustrate the difference of a 10 stop neutral density (ND) filter, I made this composite image, consisting of a normal exposure (on the left) and an exposure with a 10 stop ND filter (right).
And here are before and after settings. Have a look:
Before: 1/20 sec, f/8, ISO 200
After: 239 sec (4 minutes), f/16, ISO 200
3 Classic Uses Of Neutral Density Filter
-
Long Exposure Shots
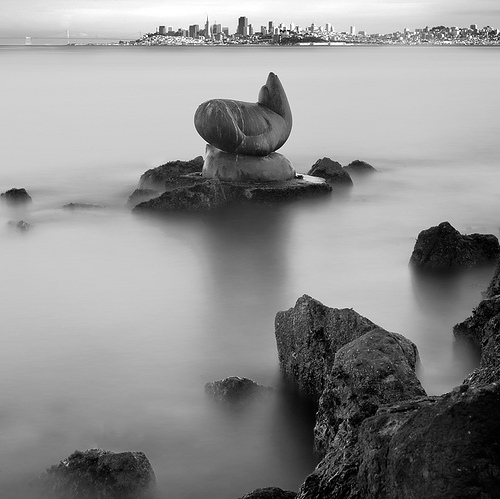
Nature and landsscape photographers are great fans of long exposures. The surreal images with blurry waters, softening waves and movement of clouds almost always result in visually arresting images. If you are also interested in capturing such photos, it is wise to invest in ND filter. For long exposure shots, the foremost requirement is to slow down the shutter speed. When you slow down the shutter speed, it allows you to capture the movement of water, clouds, etc. But there is a caveat to it. The slower shutter speed also allows a lot of light to enter the camera which results in overexposure. Putting the ND filters on the front-end of the lens thus allow you to go slow on shutter speed while blocking the excess light from reaching the camera’s sensor.
-
Deliberate Motion Blurs
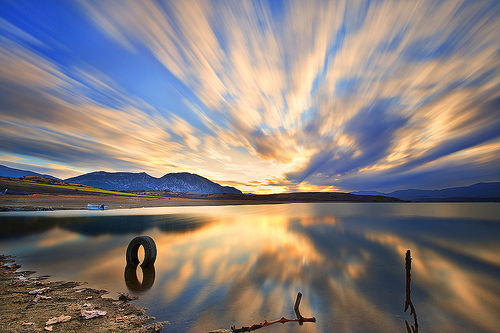
Similarly, ND filters can also be used for capturing some great action photographs — the photographs which portray the sense of motion. Instead of freezing the motion, you can slow down the shutter speed and use ND filters for creating motion blur effect. For instance, the photograph below captures a lot of activity happening in the sky, resulting in cloud streaks.
-
Shallower Depth Of Field
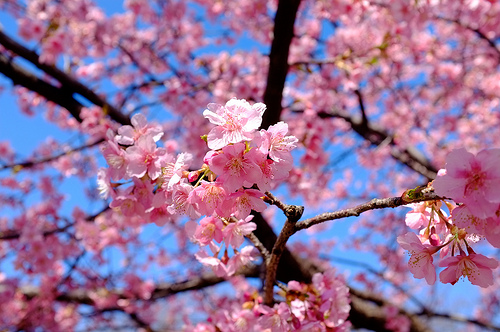
ND filters can also be used to reduce the depth of field of an image. Instead of reducing the aperture to limit the light, the photographer can add a ND filter to limit light and thus get selective depth of field for nicely seperating the subject from the background.
Neutral density filters are available in various specifications, each variant named after the amount of light transmitted throght it. Most of the photographers use N2, N4 or N8 filter to photograph surreal seascapes and motion blurs. Check out ND filter types here and pick the one that best suits your needs.

