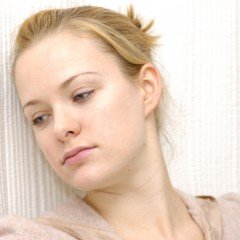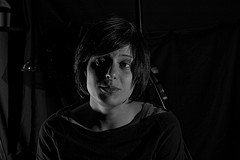
The topic needs some explanation before we proceed to the finer details. It is one thing to shoot a subject in various levels of light however when light itself is the subject, the entire gamut of generic rules take a paradigm shift.
Long time back in the earlier days of my fascination with photography, I choose to shoot a sunset scene. I set all the settings to auto and clicked. To my amazement the result looked like an afternoon scene. The camera had compensated for the low-light conditions by setting a longer exposure.
- Limitations of light meters: The camera’s light-meter has several fundamental limitations when it comes to portraying levels of light. The camera tries to meter the reflected light and compensate for the levels by setting the right exposure. Thus if you are shooting pure black, the camera sets a longer exposure to compensate for the low light coming in and the result is a gray color. Similarly when shooting pure white, the camera again compensates for the brightness thereby resulting in a gray color. So what do you do when you have to portray a dark environment? This image has to be underexposed and show up as a low-key image in the histogram.
- Unreliable metering. The camera’s built-in light meter is a reflected-light-meter. It used the light reflected off the subject’s surface to meter the lighting conditions. They try to adjust the exposure until the tones add up to mid-gray. But pure white is not gray and neither is black.
- Overriding the camera meter: This situation necessitates overriding the light meter. A sunset has to be a low-key image and show up as underexposed. There are several ways to get such scenes right:
- Bracketing: Most of the DSLRs allow bracketing. The underexposed image will be pretty close to the original scene. The same goes for the high-key images – the overexposed image will be close to the original.
- Manually Underexposing and Overexposing: This is tricky and comes with experience. Here you are overriding the automatic settings and choosing the settings manually. Depending on the scene, if you are shooting a moving scene you may want to alter the aperture to control the light. This will make sure that you do not change the shutter-speed and introduce or reduce the intended blur or freezing of motion. For a static scene you can alter the shutter-speed as you may not want to disturb the chosen depth-of-field. However depending on the conditions similar effects can be received by altering the ISO as well.
Challenging weather conditions and light-levels like a bright desert-noon or a sunset demand creative use of controls. When light itself is the subject you must know when to take control of these controls.


I always read your tips and find them very useful as I have been trying to improve my photography skills, A friend has asked me to photograph her small, informal wedding later this year.