I‘m pleased to start a this series “31 days to becoming a pro”. I recall the time when I just picked up my first camera and started on a long journey of experimenting and learning and discovering my own style of photography. Here’s the first article in the series. With this series I try to recollect everything that I learned to to grow as a hobbyist, artist and as a photographer.
Cameras and gadgets have this thing about them — you want to shoot and turn it back to see the result. Little do we worry about the camera shake and the right way to hold the camera. And we realize in the long run that some of our basic techniques are flawed. Simply owning an expensive and sophisticated camera does not guarantee a nice picture. It is the photographer who makes great photos, not the camera. And if you cannot hold your camera correctly, your images will always come out blurry due to camera shake. While using a tripod is the best option for keeping your camera stable, not everyone like to carry it everywhere. A good idea is to get the grips on the basics. Here are 7 simple steps to help you get the right grip of your camera.
-
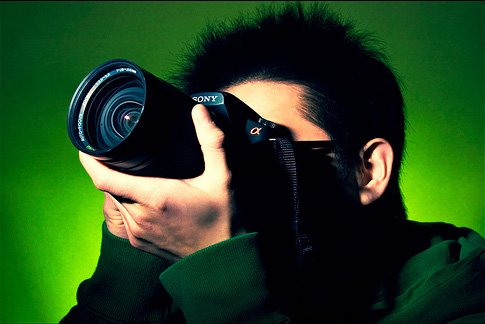
Right Hand To Grip The Camera
The camera-body is shaped such that you can get a better hold if you use the right hand to grip the camera. This allows you to place your right hand’s forefinger on the shutter-release.
-
Left Hand To Stabilize the Camera Weight And For Lens Tuning
The left hand goes under the camera with the thumb and middle finger extending to allow reach to the lens rings. Thus the left hand bears the camera weight while allowing control of the lens.
-
Lean Against A Support For More Stability
Lean against a something solid for extra support and rigidity. A tree, a car, a pole or a building will do fine. Optionally, you can kneel down on a plain surface for a firm posture. Place your elbows slightly behind the knees when you shoot while sitting down.
-
Stick The Camera Against A Stable Surface
When I’m really worried about the camera shake, I press the camera against a stable surface like a tree or something. This means that now my job is to just keep it pressed against the surface and shoot without being worried about the movement.
-
Using LCD vs Viewfinder
Using a viewfinder lets your camera rest against your face and provides an extra support to it. However, while using the LCD screen for viewing your shot, tuck your elbows comfortably against your body to avoid shaking the camera.
-
Hold Your Breath When Releasing The Shutter
Relax your body properly to avoid body movements as you breathe during the shoot. Before taking the shot, inhale and exhale slowly to make your body relaxed and stable. Then, hold your breath and release the shutter. A pacing heart is not very desirable when composing except at all other times ;p
-
Don’t Be Too Eager
Consumer cameras especially the entry level can take too long to capture a shot in dim light. If you are too eager to point, shoot and move away, you may move the camera while the shot was in progress. And in the shot all you’ll see is the ghost effect. Listen to your camera. If the shutter snaps right back you are done. If you don’t hear it snap back, wait another second till the shot is complete. The process of making the capture is as important as holding the camera itself. Don’t neglect it.
-
A Heavy Camera Helps
While you can’t go buying a heavy camera for issue like balance, a heavy camera does tend to settle more steadily against the palm as opposed to the lighter ones.
How do you hold the camera?


Whenever I’m in a situation without a tripod and the shutter speed is so slow that I’m likely to get camera shake, I have a way to hold the camera that gives phenomenal results.
First of all I take my left hand and place it on my right shoulder. I then lift my left elbow up until it’s parallel with the floor. What this effectively does is create a very stable shelf to put my camera on.
Once the camera is on my left arm near the elbow, I use my right hand to do the repositioning for composition and any on camera adjustments. Then when I’m about to hit the shutter release button, I hold my breath, steady myself and press.
With a bit of practice you can get really steady shots right down to 1/30th of a second or lower (depending of course on the focal length you’re working with).
I recently just did an indoor test to prove to myself that this technique actually works. I used an 18-105 lens set of 105mm, f 5.6, ISO of 800 and a shutter speed of – get this – 1/10th of a second.
I focused on the nose of “Whinnie the Pooh” that was 20 feet away and painted on one of my kids chairs. Using a traditional stance lLike in the photograph above under point #4) it was hard to keep the nose centered in the viewfinder and the resulting image ended up slightly blurry.
Using the modified stance I described above, it was a lot easier to keep the nose in the center of the viewfinder and I got a rock solid image at 1/10 of a second. Then just for fun I wanted to see how far I could push it. I got down as far as 1/4 of a second with startling great results.
Beyond that things didn’t turn out to well – but still a 1/4 of a second is a long time to get non-blurry, handheld results.
HI There,
I loved your site and the tips given in your site is amazing. I was thinking if some body can give me advise on which camera to choose out of which i have short listed. I am looking for Digital SLR camera to buy and I am extremely intersted in photography.
Looking forward to hear from you.
Thanks & Regards
Visha