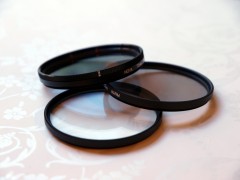
Professional portrait photographers employ a number of techniques to create flattering portraits — using a diffusion filter or a soft focus filter being one of them.
Diffusion filter is a photography filter which sits right on the top of your lens and scatters the light entering the camera. It is made up of a translucent photographic film, which actually does the trick.
Photographers use it to add various effects; especially portrait photographers use it to reduce unflattering skin blemishes. It is thus also known as the soft focus filter.
However this effect cannot be achieved simply by defocusing the subject to a smaller degree. This is because even when you use a diffusion filter the focus remains sharp. It is just diffuses the strong light without affecting the sharpness and the contrast. And is thus different from the out-of-focus effect. Let’s talk about the effects of a diffusion filter here.
Effects of A Diffusion Filter
- Eliminates Skin Blemish: A diffusion filter reduces minute details in the scene. As a results it softens the wrinkles, rashes and minor skin defects. It is thus used in wedding photography to give soft, romantic & delicate look to wedding portraits.
- Adds A Dreamlike Haze: The softfocus filter (to an extent) softens the subject and the background; giving it a dreamy look almost like shallow DOF and complimentary bokehs (rarely).
- Changes The Color Tints: Some filters can change the overall tint of the skin tones. For example, the Tiffen gold diffusion filters adds a warm glow to the skin.
- Softens Shadows: Diffusion filter also softens the harsh shadows in the scene.
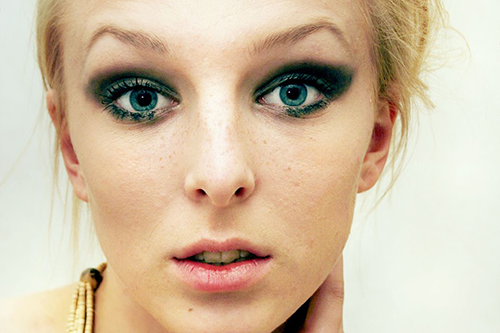
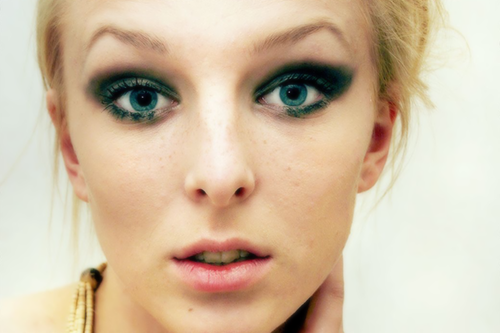
You can easily find a number of diffusion filters. However their degree of softening the subject varies from manufacturer to manufacturer. The diffusion filters come in variety of sizes, so make sure you check out the size of your lens prior to buying one. Let’s check out a sample image to see how a diffusion filter works.
Before Diffusion Filter

After Applying Diffusion Filter

This effect can be achieved by smearing petroleum jelly on a UV filter or shooting through a nylon stocking. You can also replicate this effect in post production by applying “Gaussian Blur” in Photoshop.
Practically you can take care of such issues during post-processing as does the before and after effect in the above picture. Personally I try to stay from optics which may degrade or alter the quality of the image. But when it’s about correcting the light, it has to be done on-scene (like employing a GND or a CPL). That’s because it’s almost impossible to fix lighting during post-processing. But when it comes to the effects of diffusion etc. you can always do it during the post-production (and revert back if you like). What do you do to achieve this effect?

